
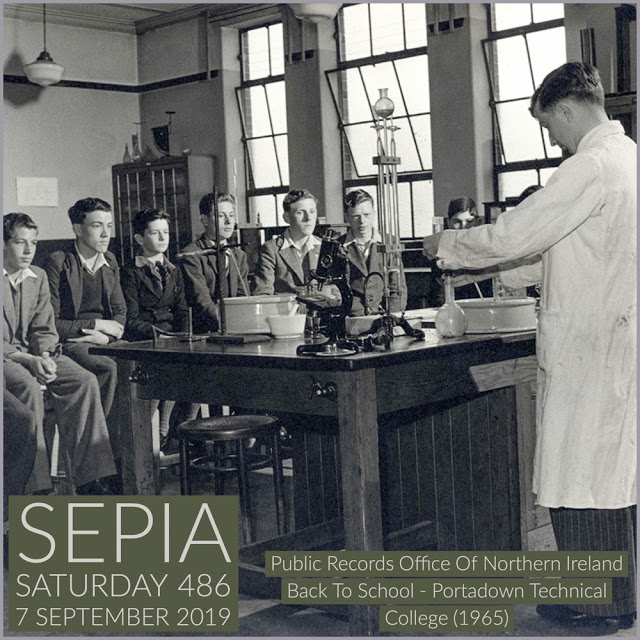
Sepia Saturday provides bloggers with an opportunity to share their history through the medium of photographs. Historical photographs of any age or kind become the launchpad for explorations of family history, local history and social history in fact or fiction, poetry or prose, words or further images. If you want to play along, sign up to the link, try to visit as many of the other participants as possible, and have fun.
I couldn’t think of anything to match the prompt photo and it is chemo week, so I needed something simple to do. Somewhere along the line, I remembered my grandmother Eveline Hoskins making charcoal crystal gardens with me a couple of times when I lived with her as a young girl – so that’s what I settled on. Doesn’t require a lot of research or brain power and I had the fun of making (with some stumbles) a couple of crystal gardens.
I couldn’t find much on the history of charcoal crystal gardens and only two vintage photos. There are apparently a few references in the 1700s, but charcoal crystal gardens gained popularity during the Depression and are sometimes referred to as Depression flowers. All of the items needed were common household chemicals usually found in one’s home.
Here are a couple of photos I found on the site with the recipe I used;
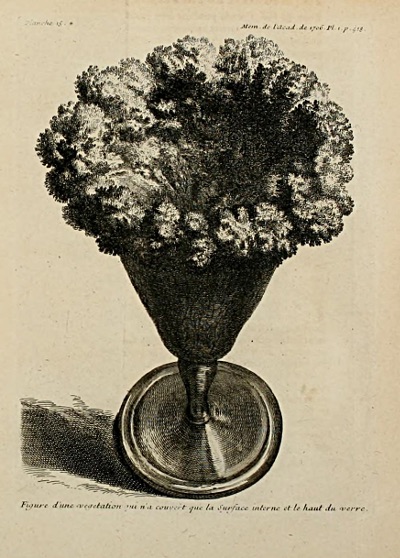
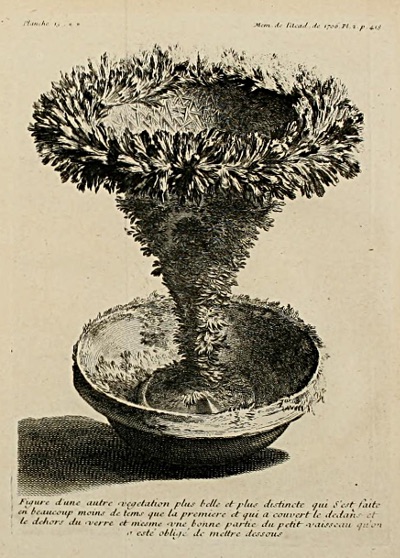
Most gardens were made in a glass pie plate or a bowl, not like the vase above. I chose glass pie plates and made two – one with charcoal briquettes (without lighter fluid!) and one with the leftovers from a wood burning fireplace that a friend supplied.
Since my grandparent’s home was heated by a coal stove, getting a few small pieces of coal was easy enough. Charcoal briquettes also work, and my little bit of research says you just need a porous base: broken flower pot, pieces of brick – even a sponge. I think my grandmother just sprinkled each item over the coal, but the recipes on the internet have you mix them together and pour over the coal.
The ingredients are basically equal amounts of salt, bluing, and water, and a lesser amount of ammonia. I used 6 Tablespoons of the first three and 1 Tablespoon of ammonia and divided between the two as I didn’t have enough bluing to make two batches – I tried to buy more, but the two stores I went to didn’t have it. Some recipes leave out the ammonia – especially if making with children – which I think slows the process but still works.
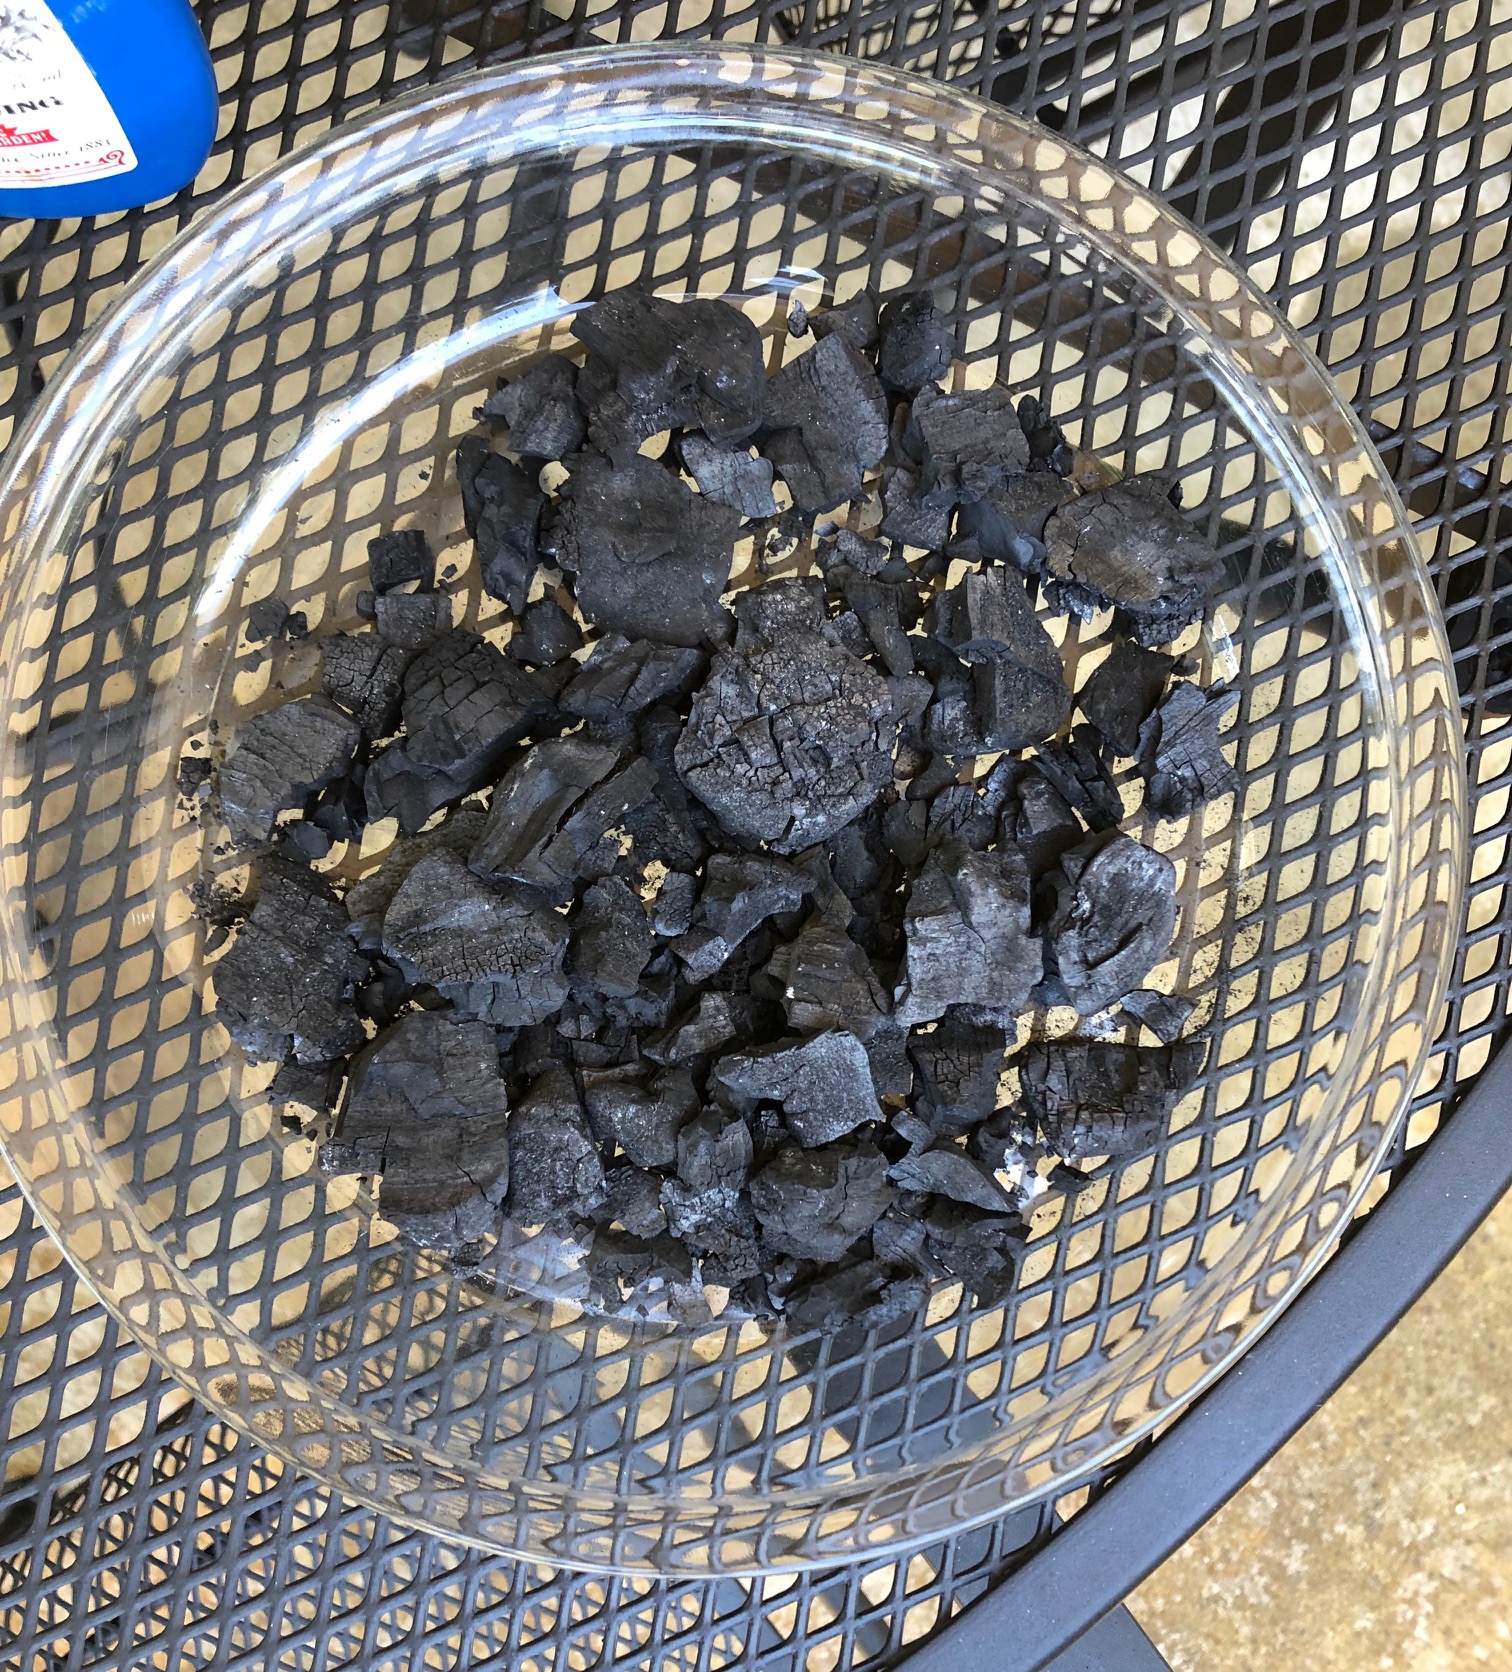
Here is my first step, charcoal briquettes on the left, burnt wood on the right:

With the mixture poured over:
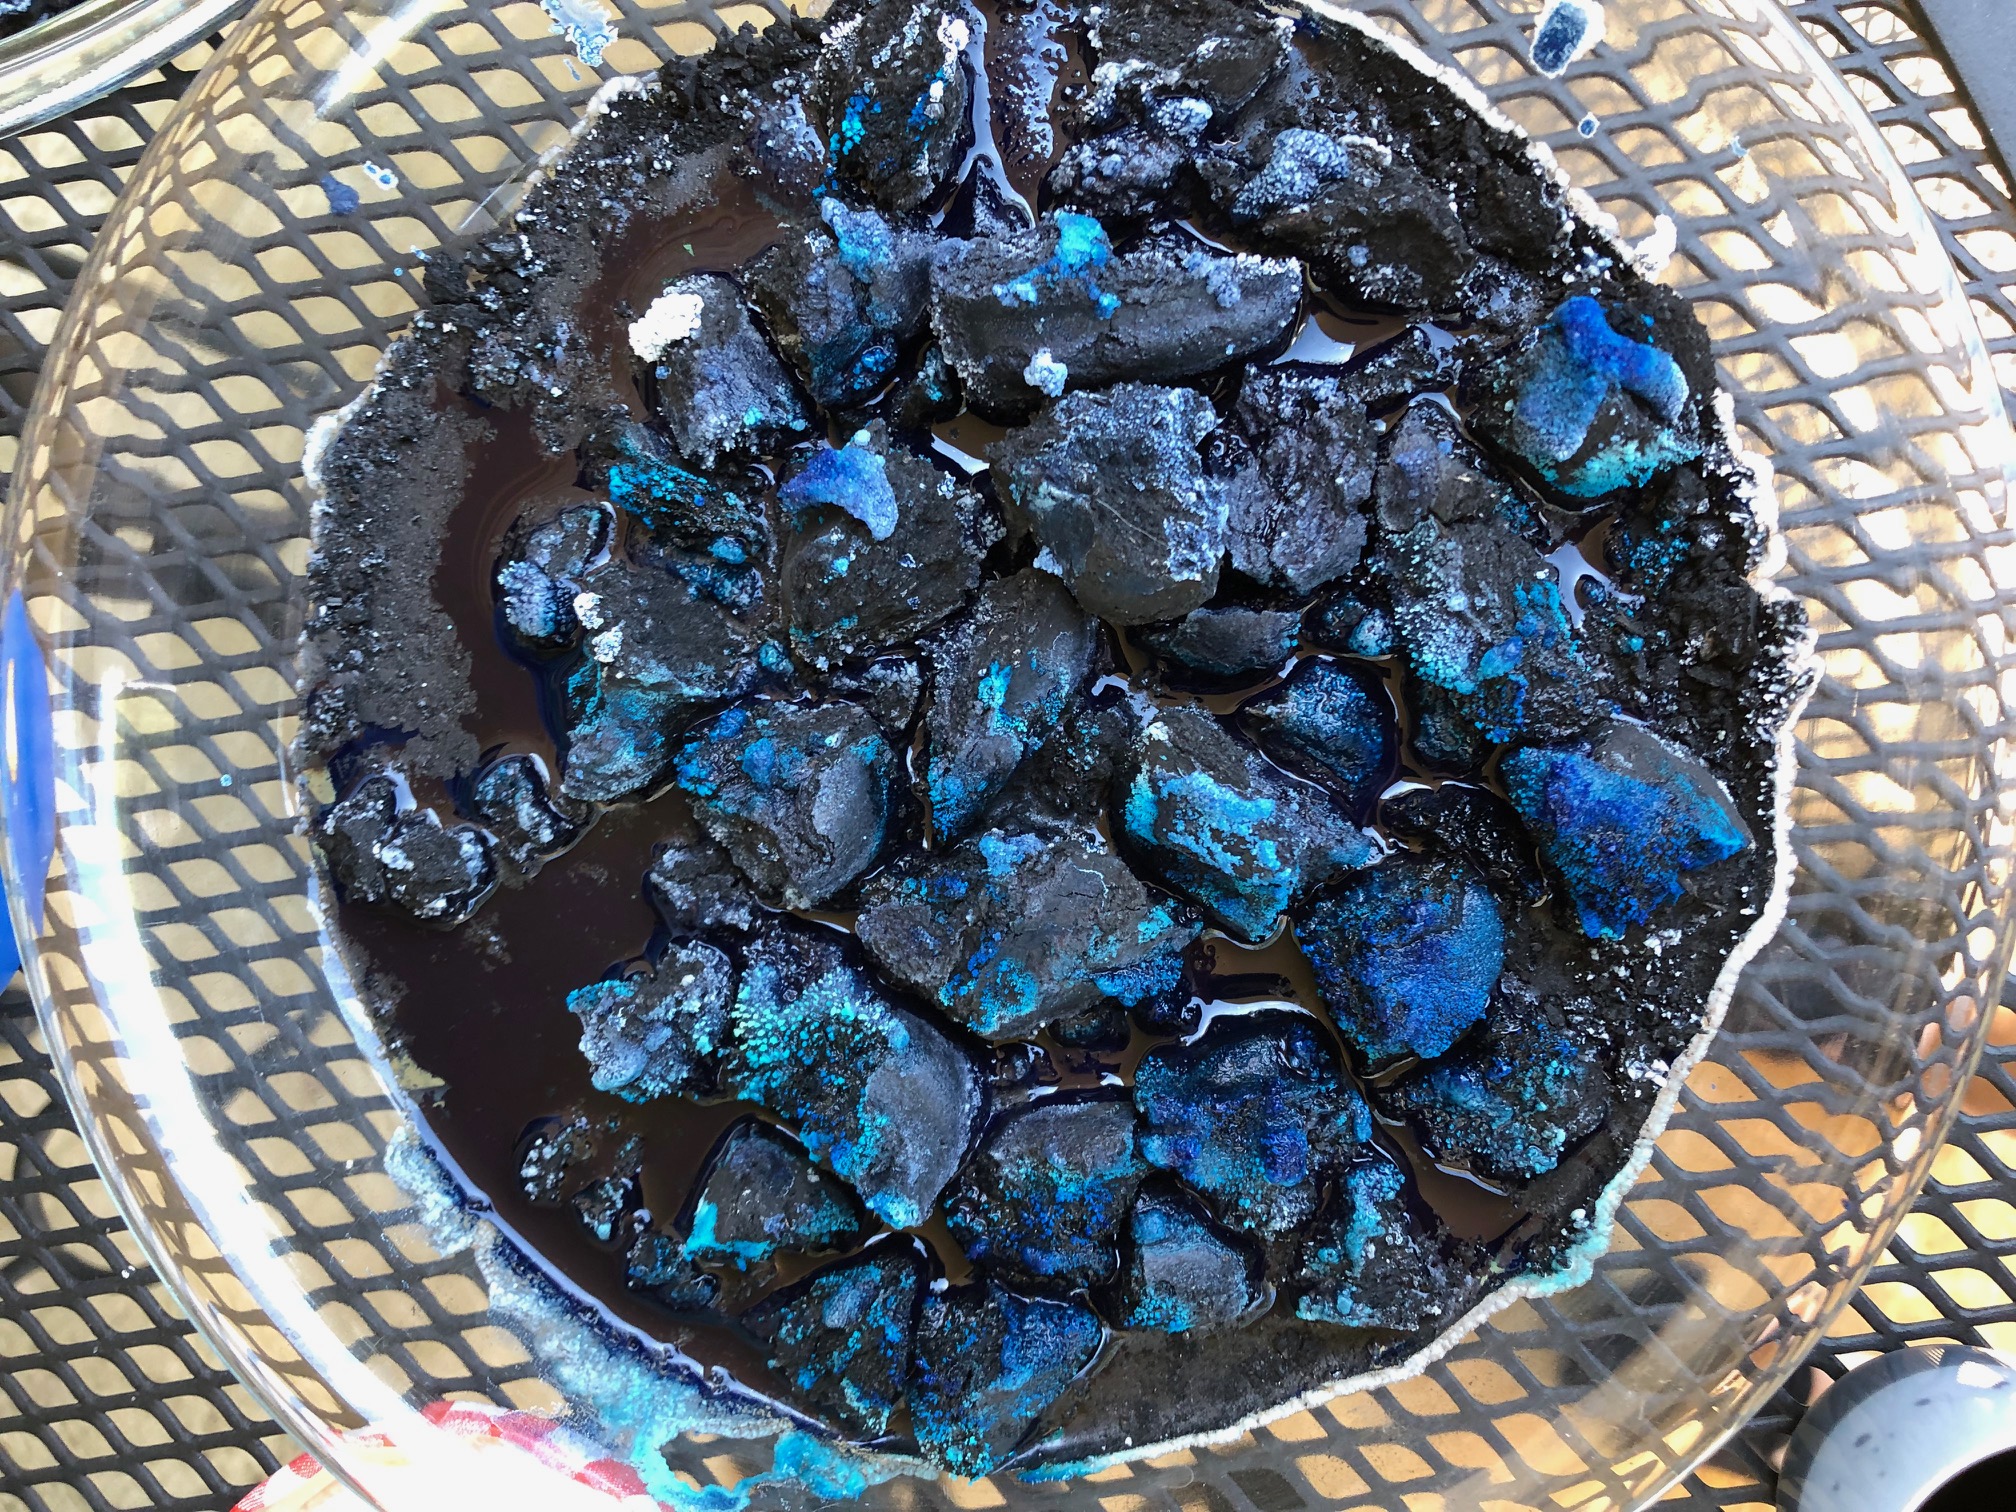
There is an excess of salt that doesn’t dissolve, so it was kind of a sludge that I ended up distributing as best I could.
One of my stumbles was that I never considered that I didn’t have a supply of food coloring in the pantry. If you are good with all white crystals that isn’t a problem, but I wanted a colorful garden like my Grandma and I made. All I could find at first was a little bit of blue food coloring, so I added what I had and went back to the cupboard to see what I could do. I found some paste food coloring that is used for cake decorating. With my weak hands, I couldn’t open a couple of them, but did get a reddish one and more blue, so I diluted the paste in water. When I went back to my garden, it had already started to grow!

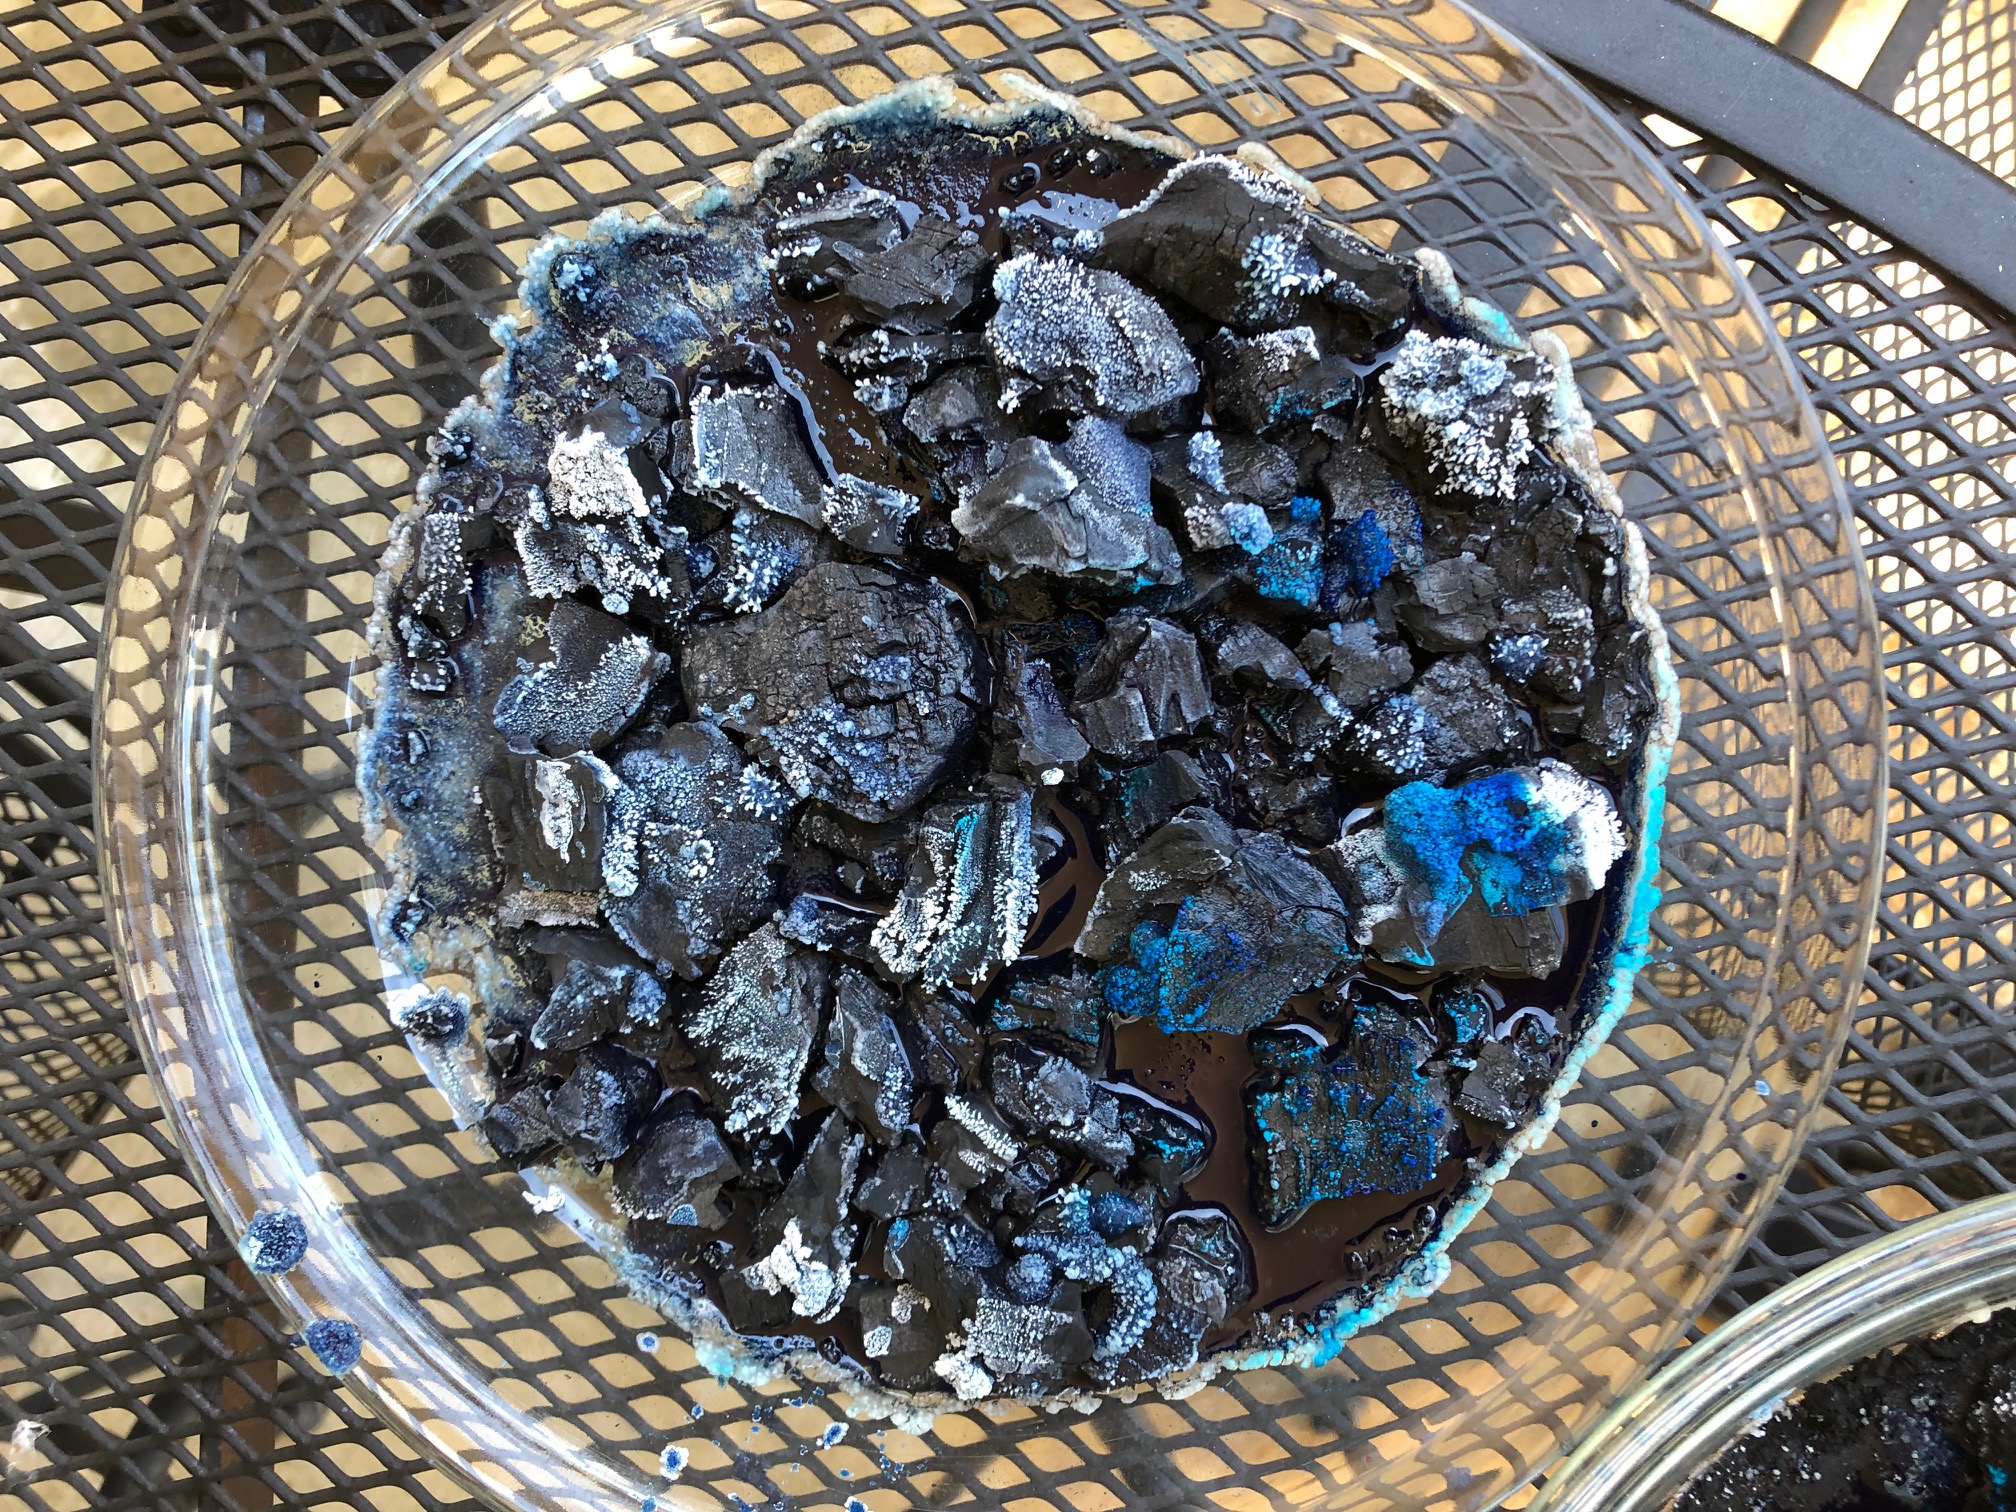
Added the other food coloring and in an hour had this:
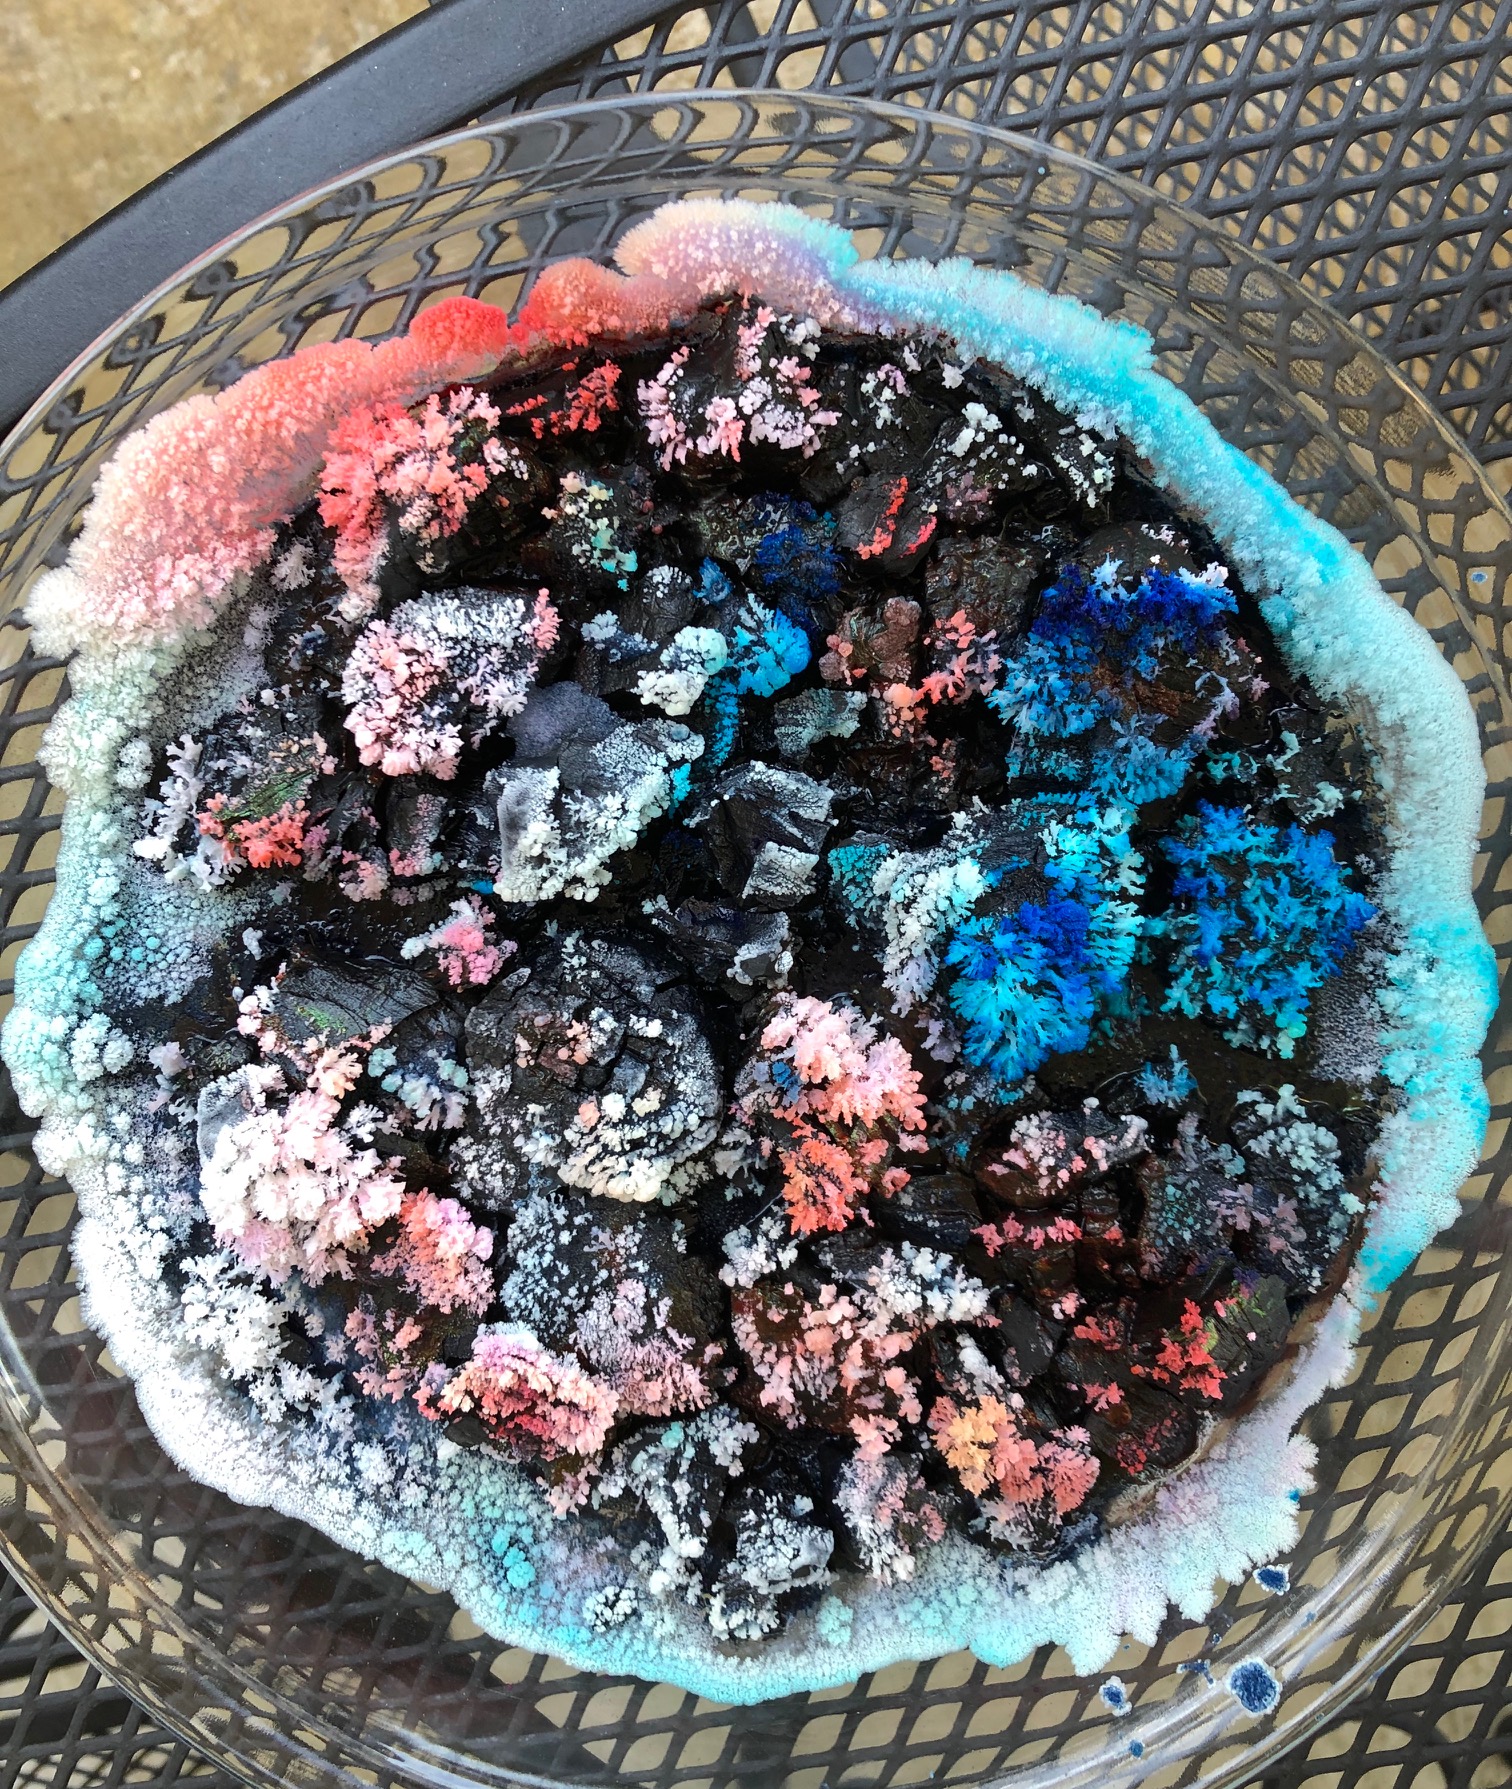
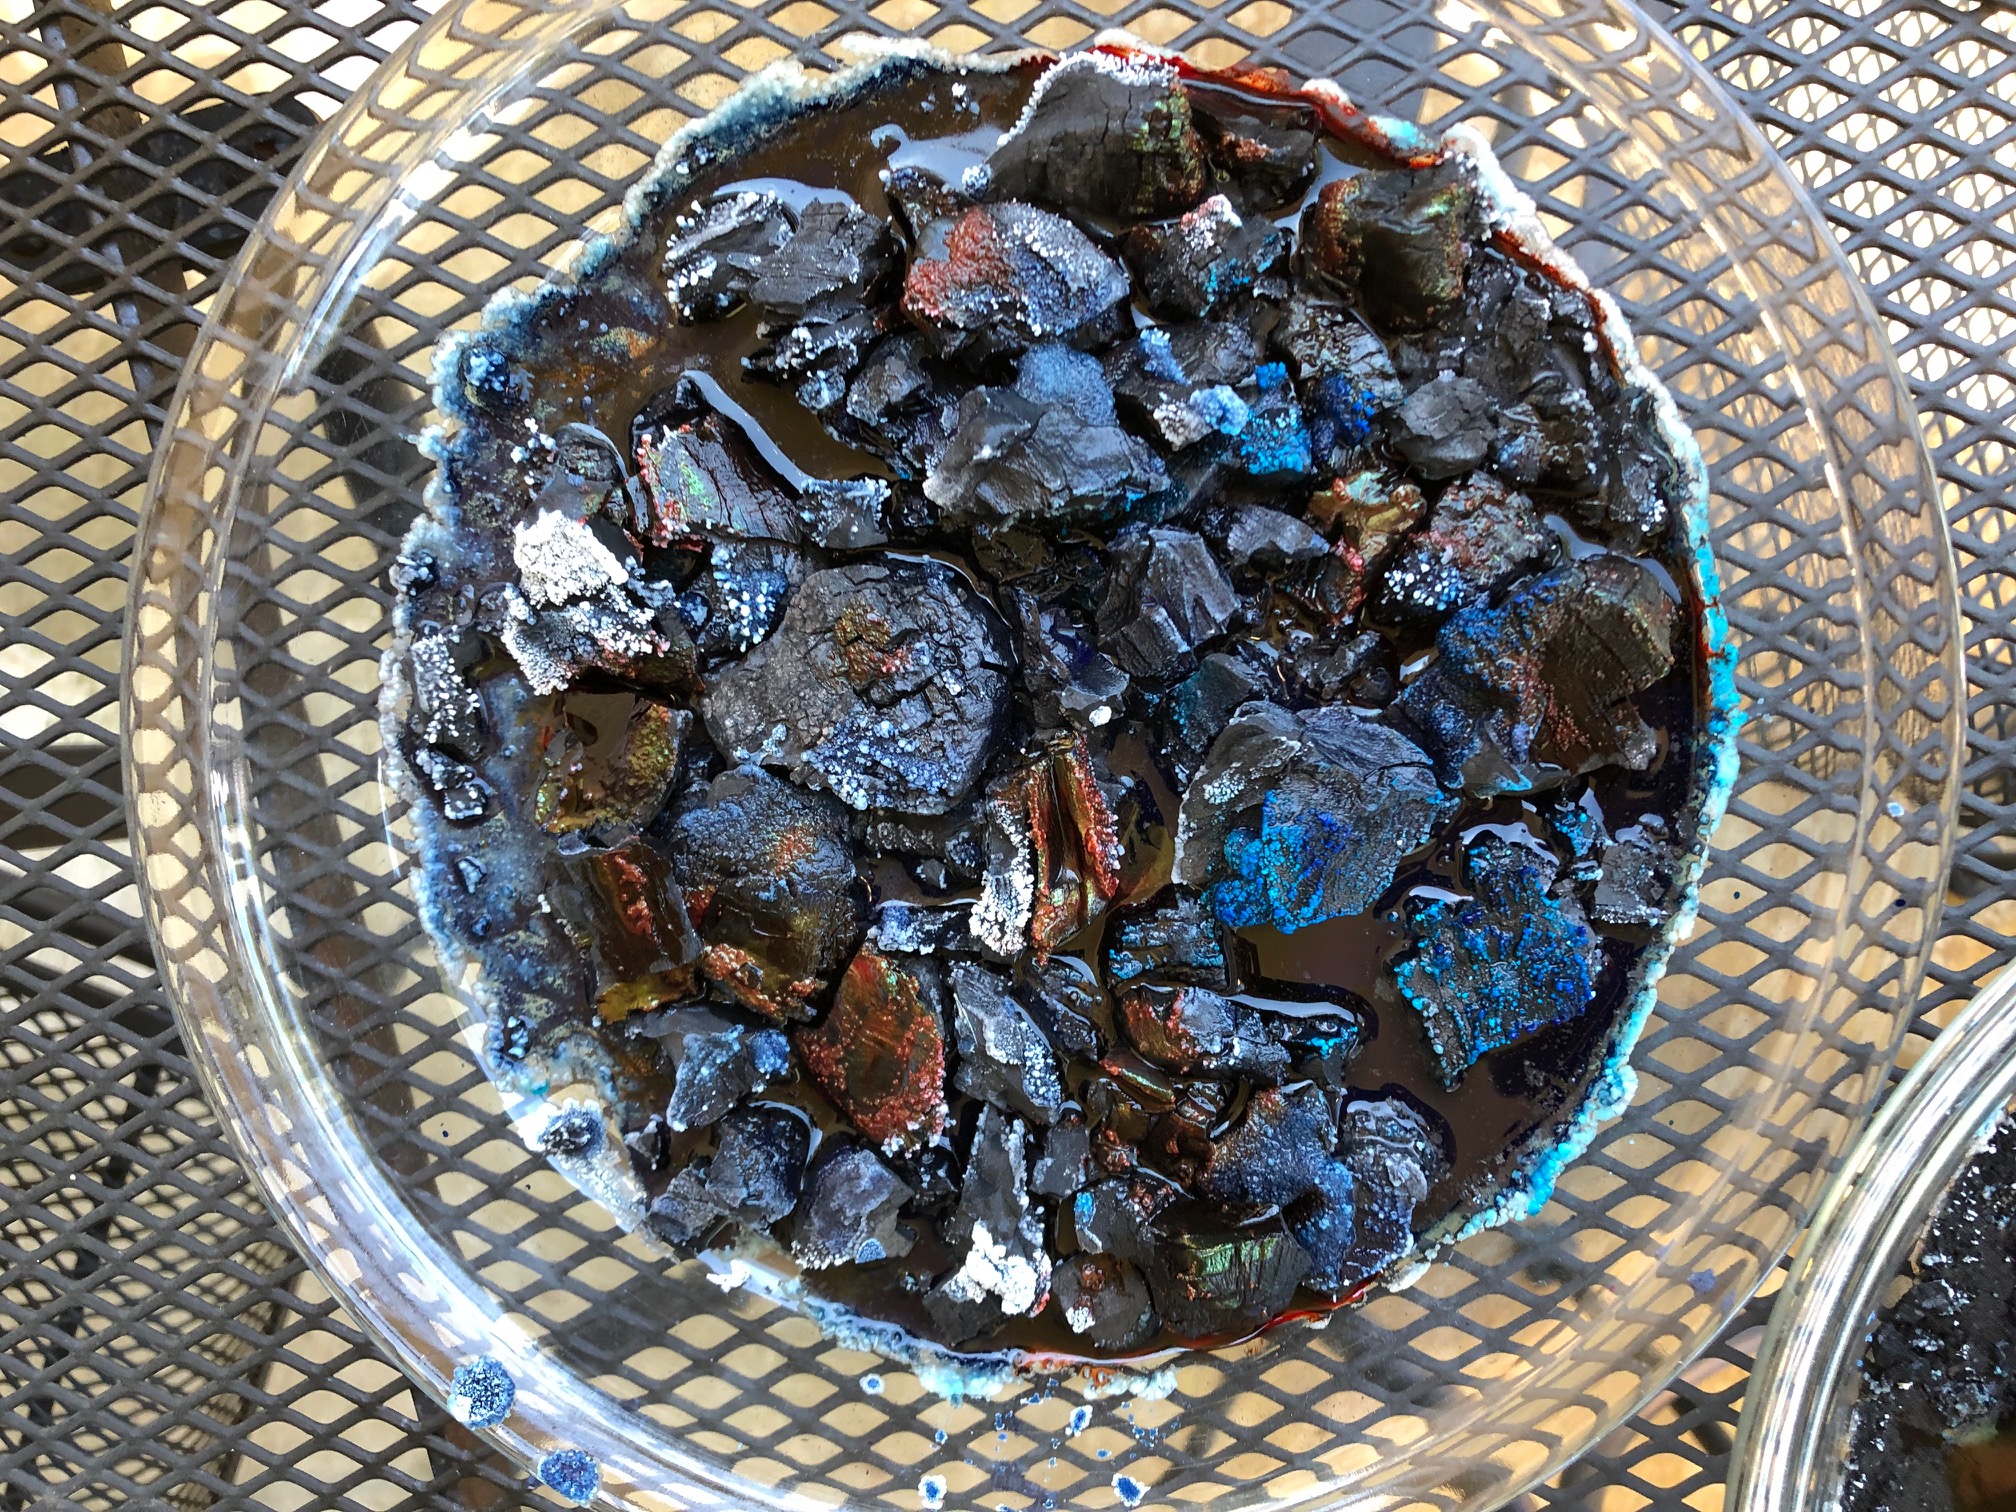
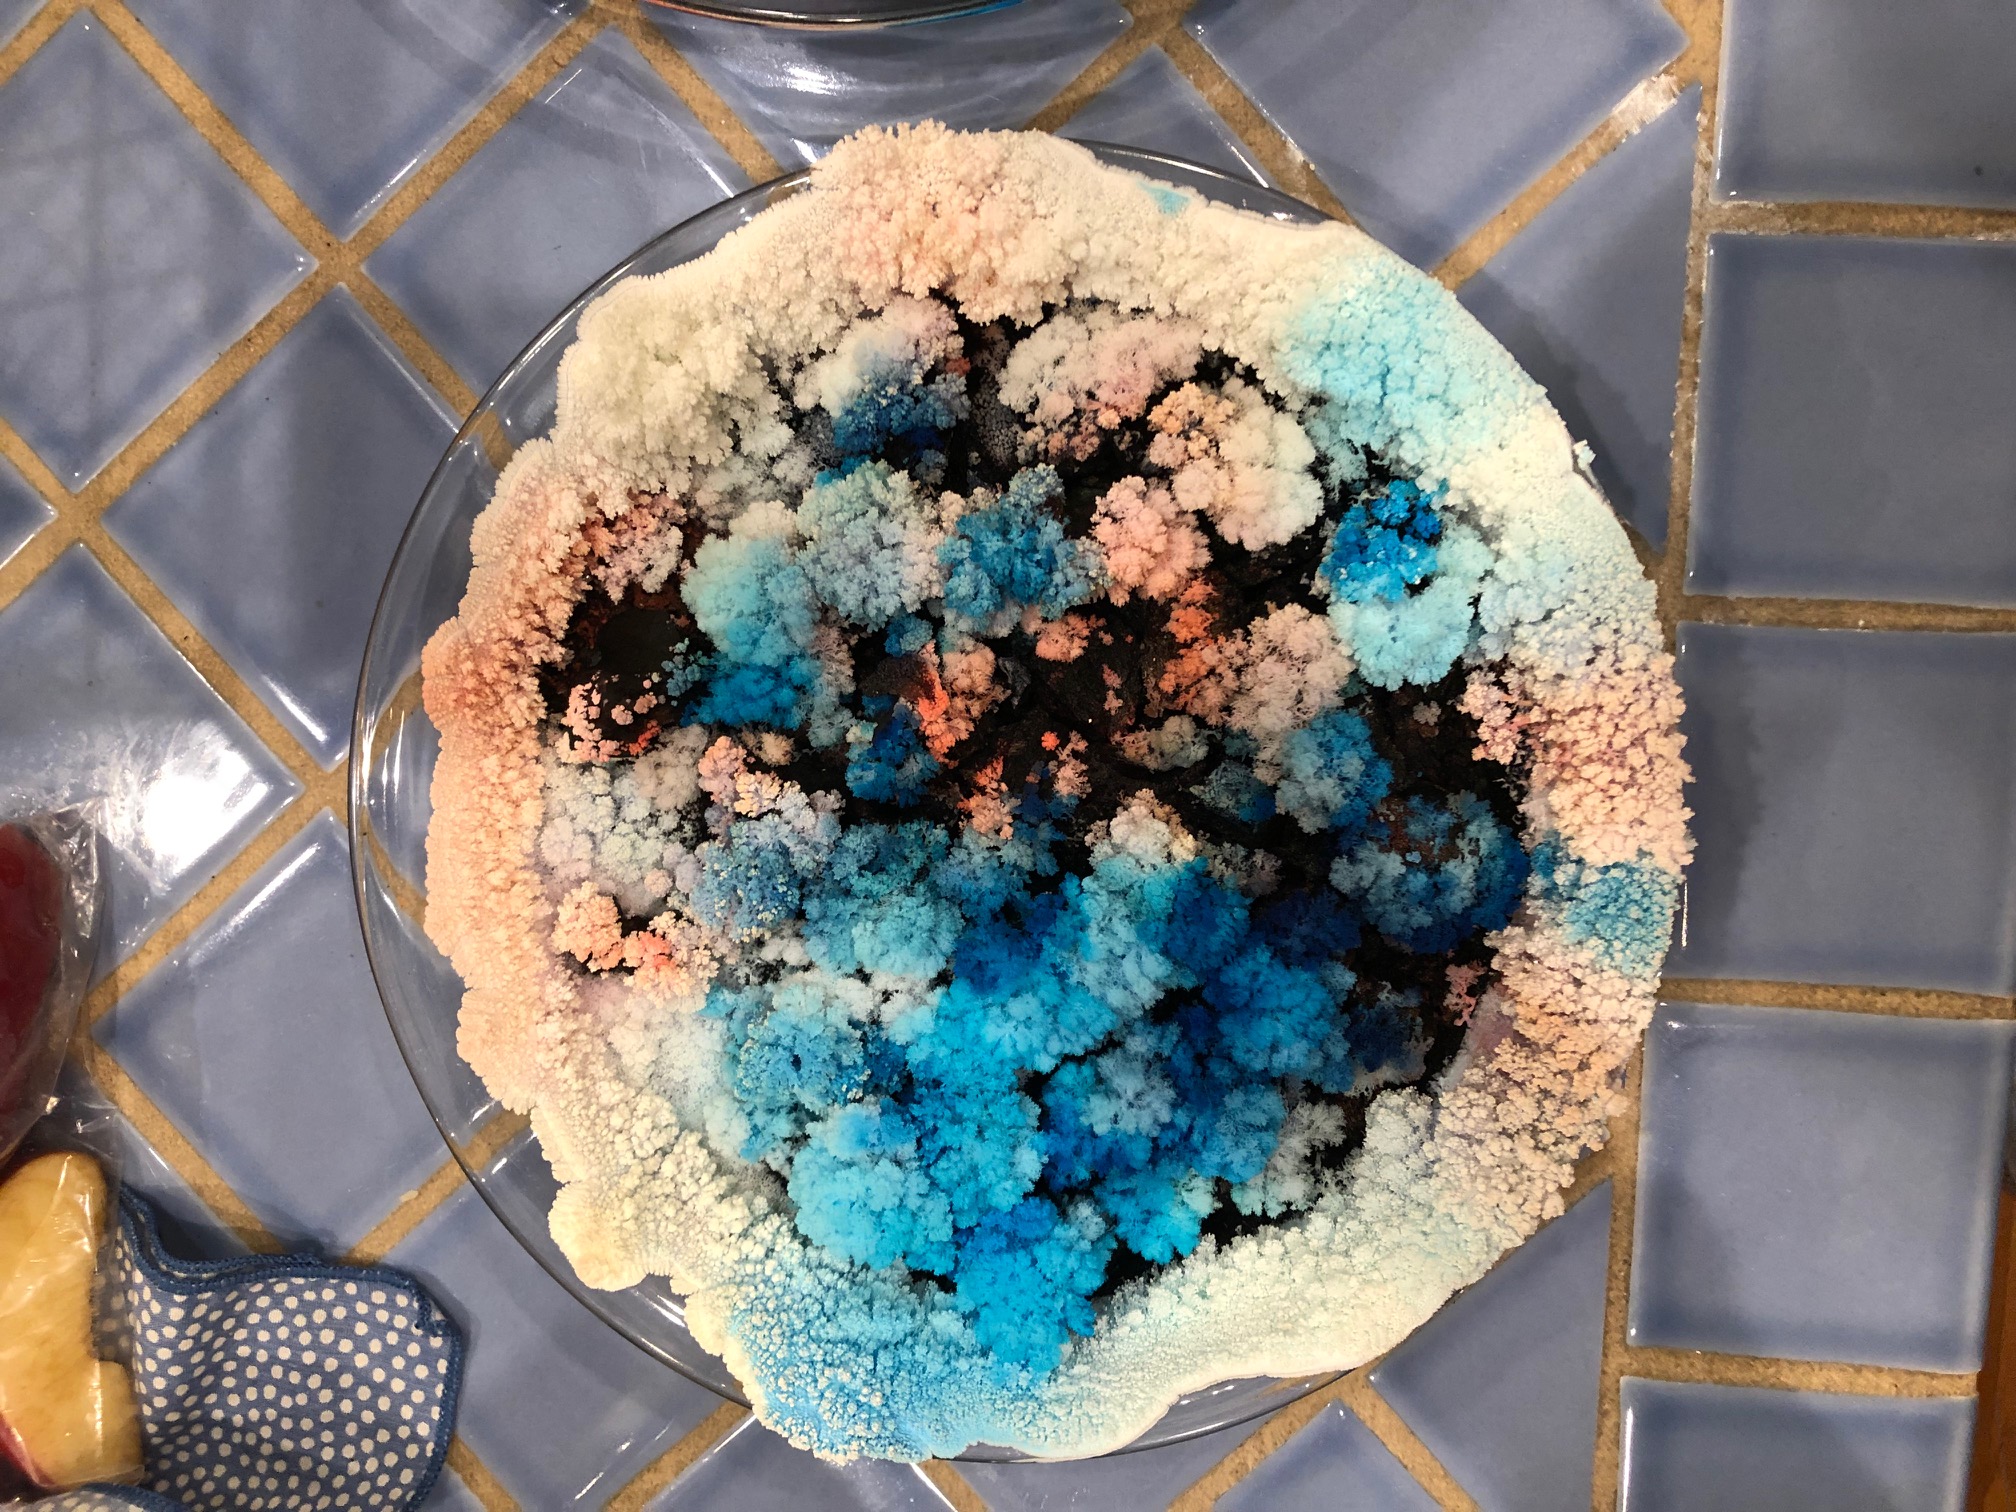
By bedtime, more crystals had grown and were overflowing the pie plate. It was also losing color as the new crystals had not taken on the food coloring. Guess I needed more. By this time, I found some red food coloring, so after taking this photo, I put a little red on and the crystal I poured it on just dissolved away. (It was replaced by morning, so no big deal, really.)
Bedtime:
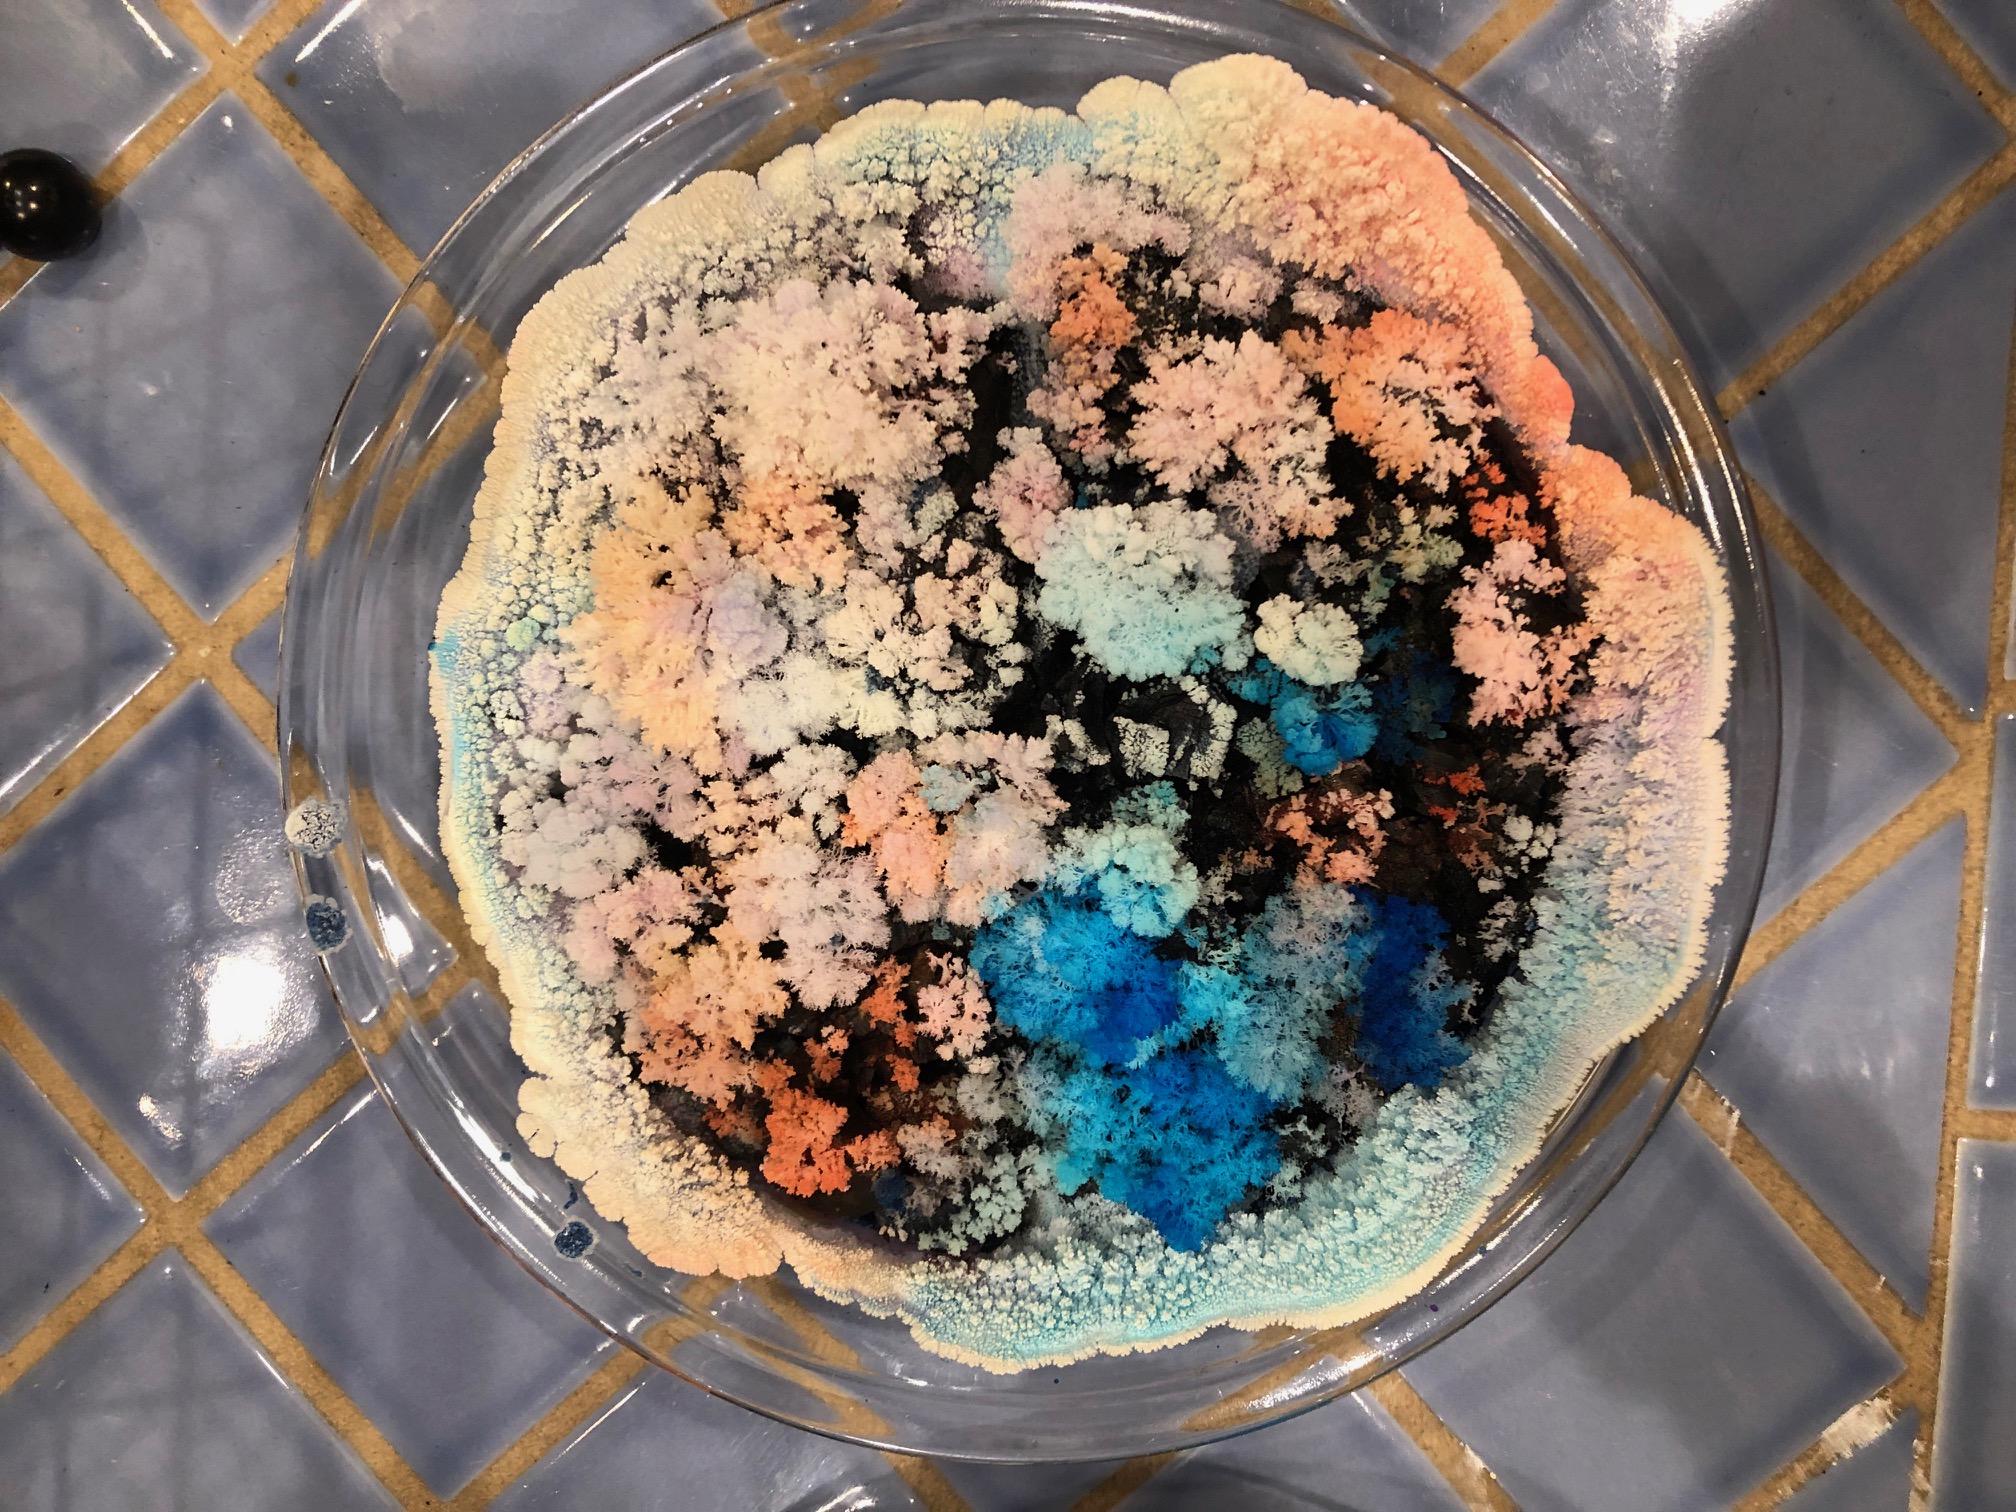
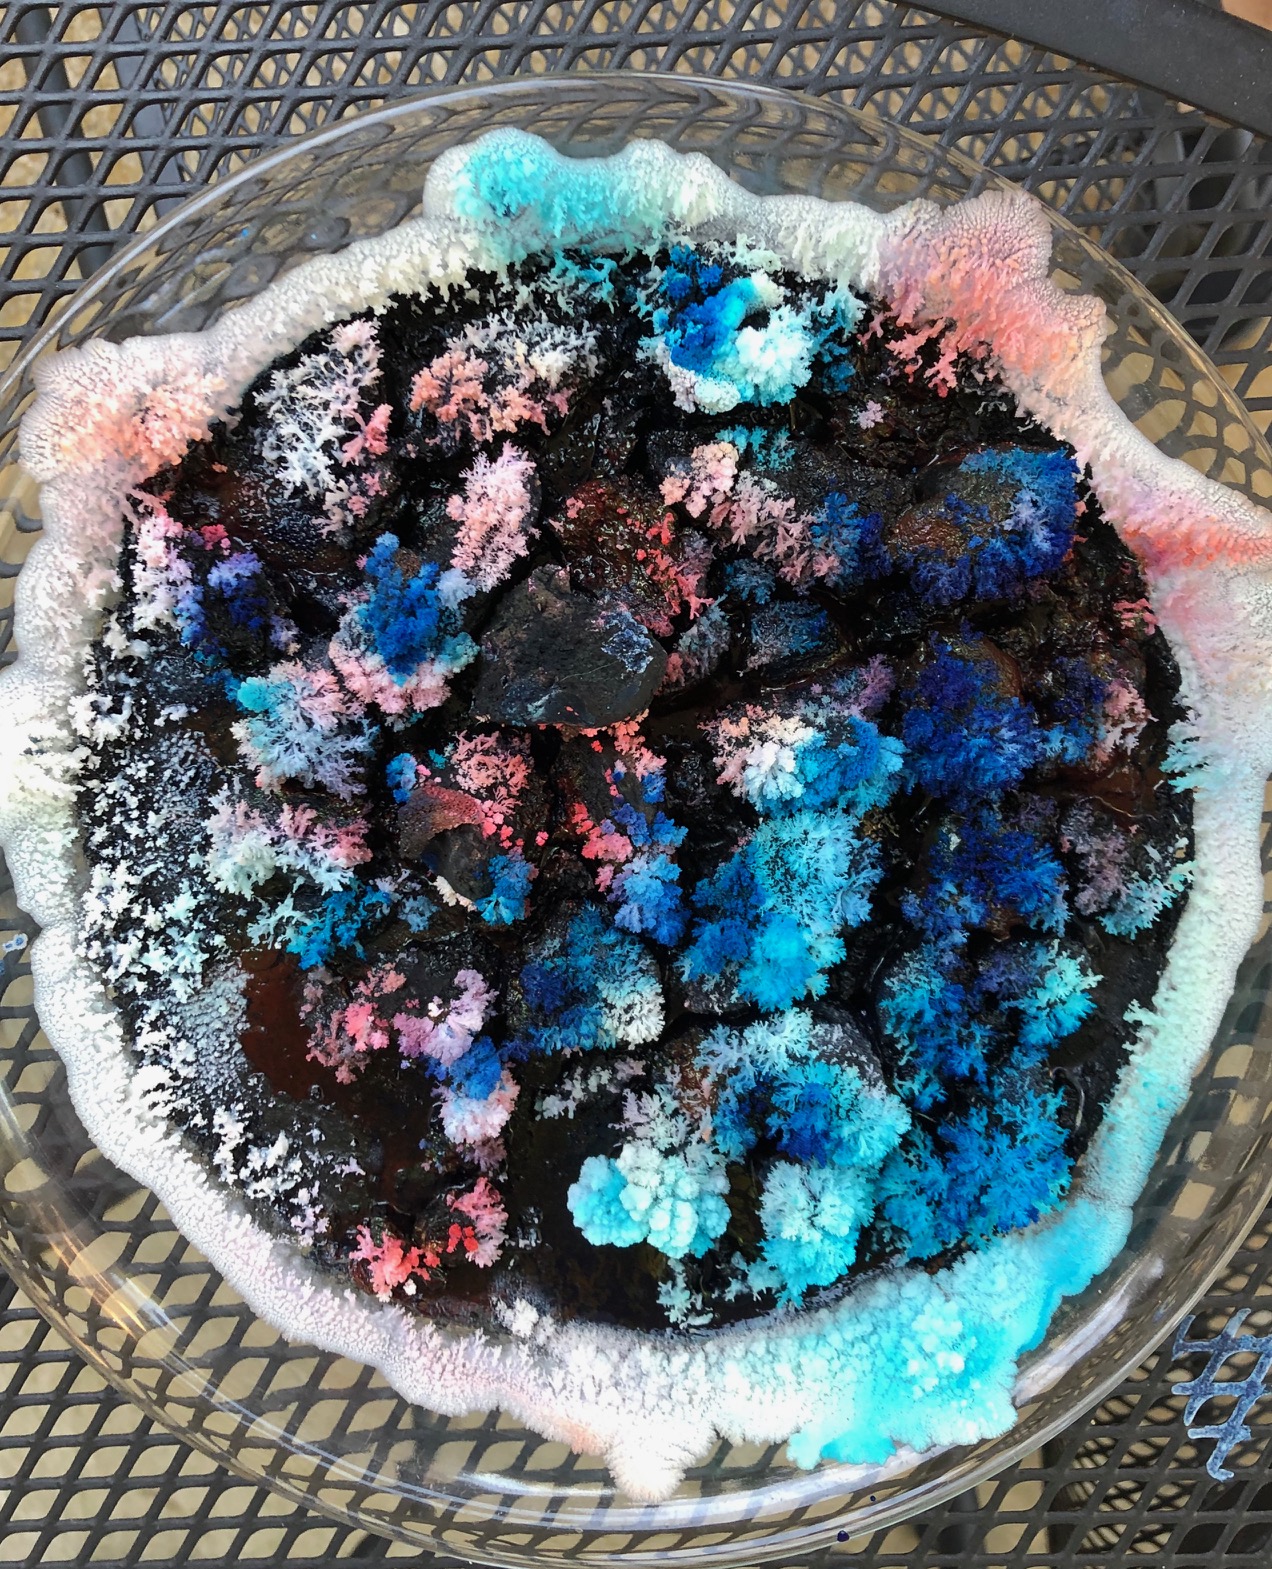
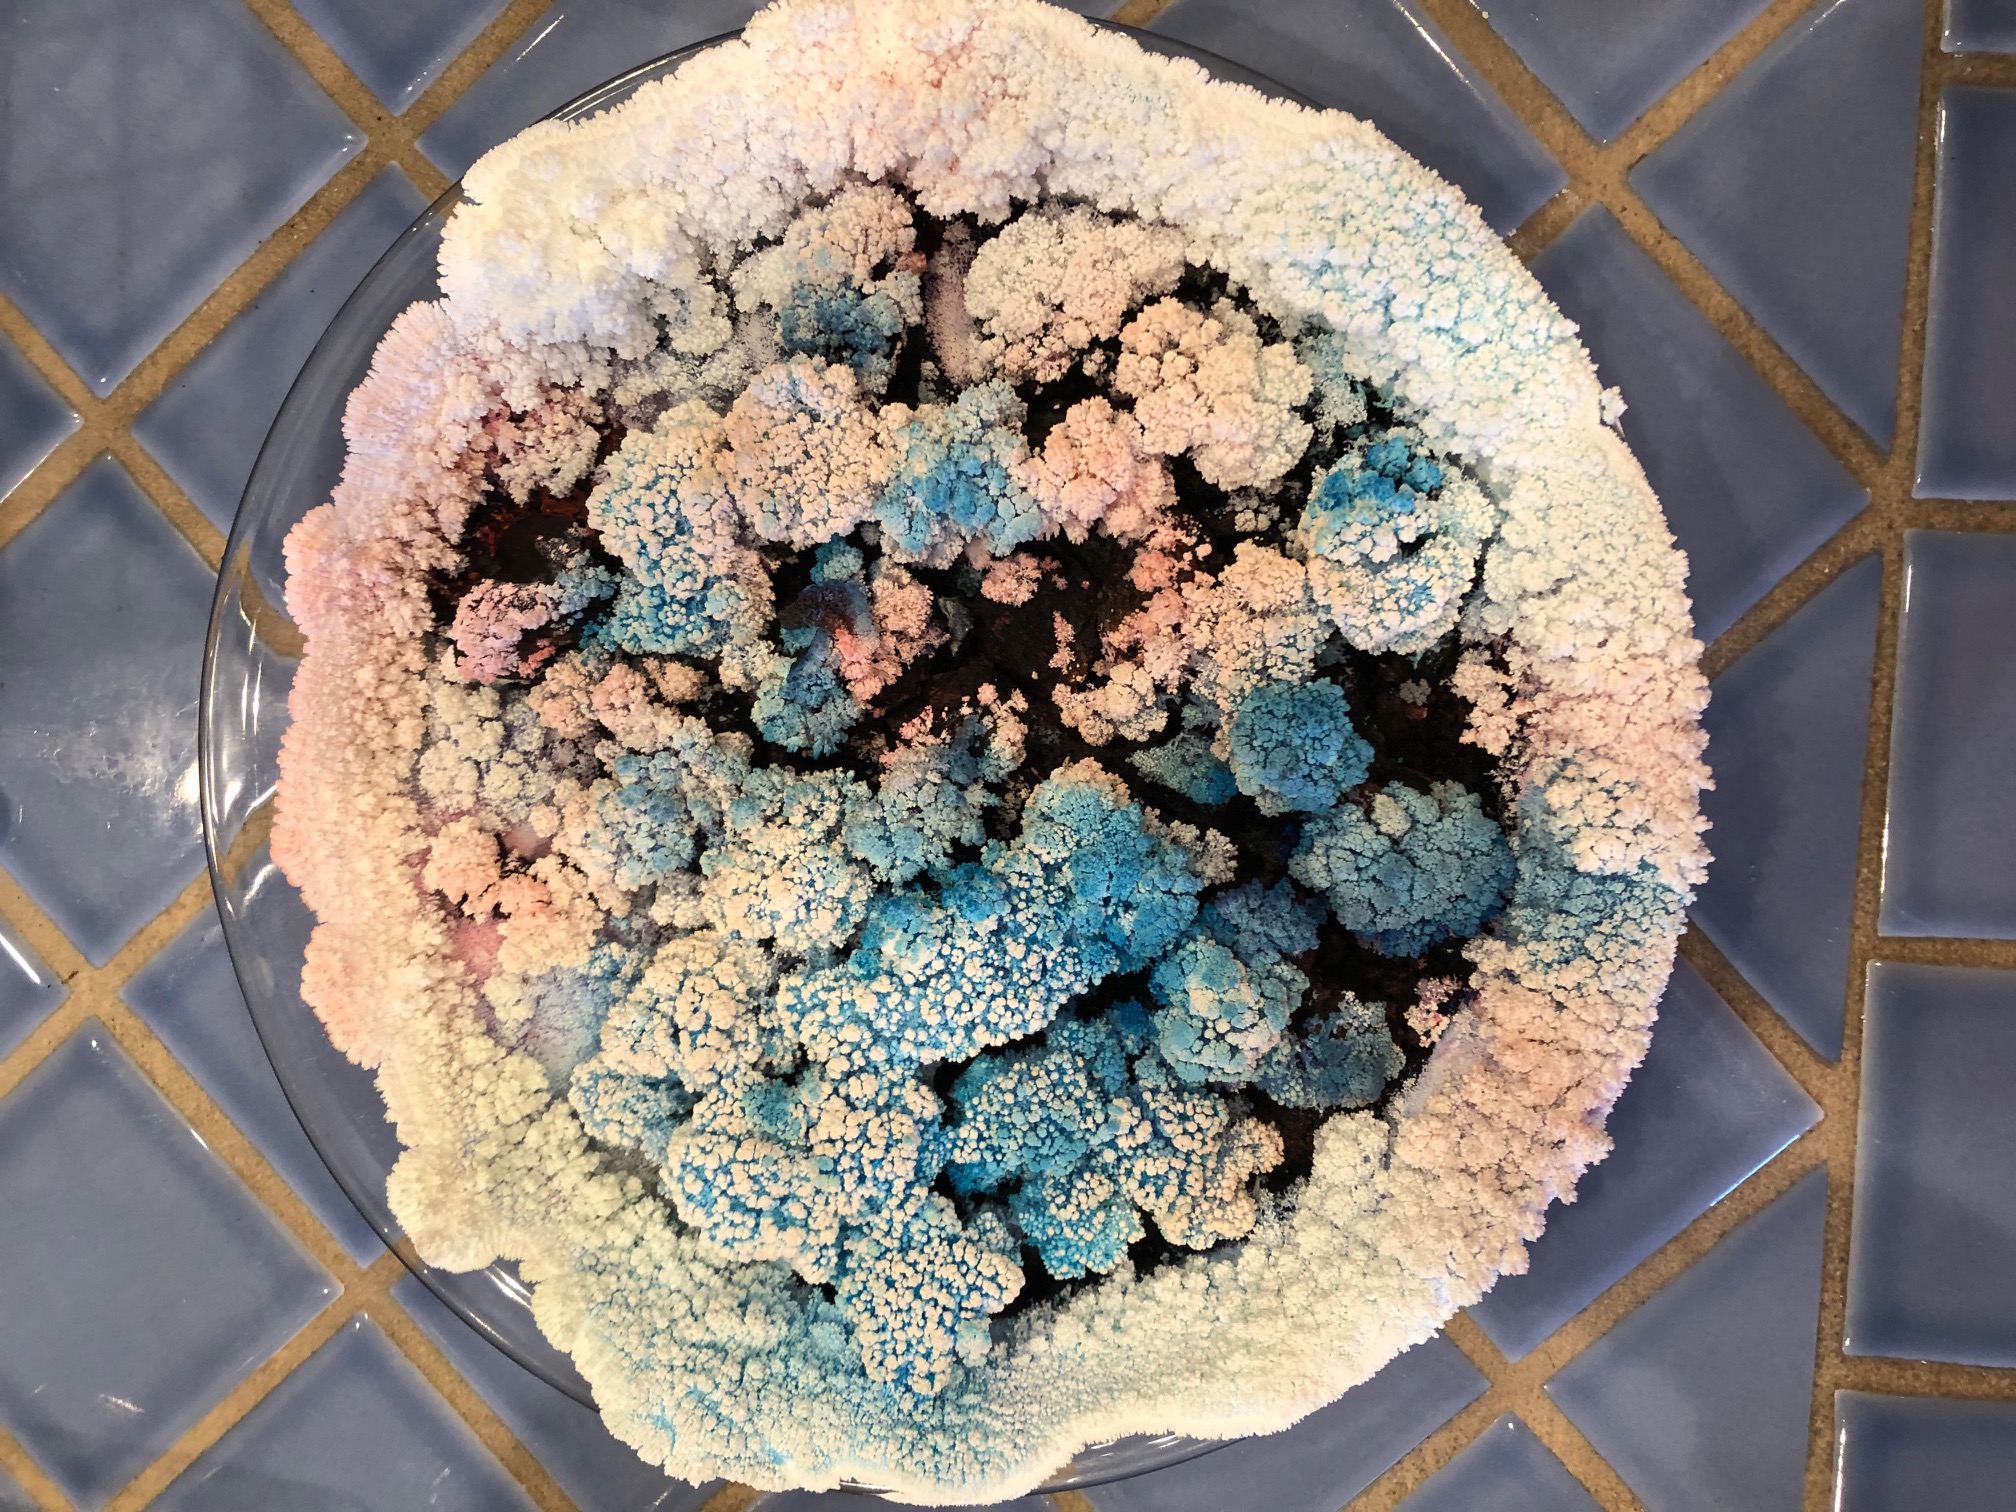
This morning:
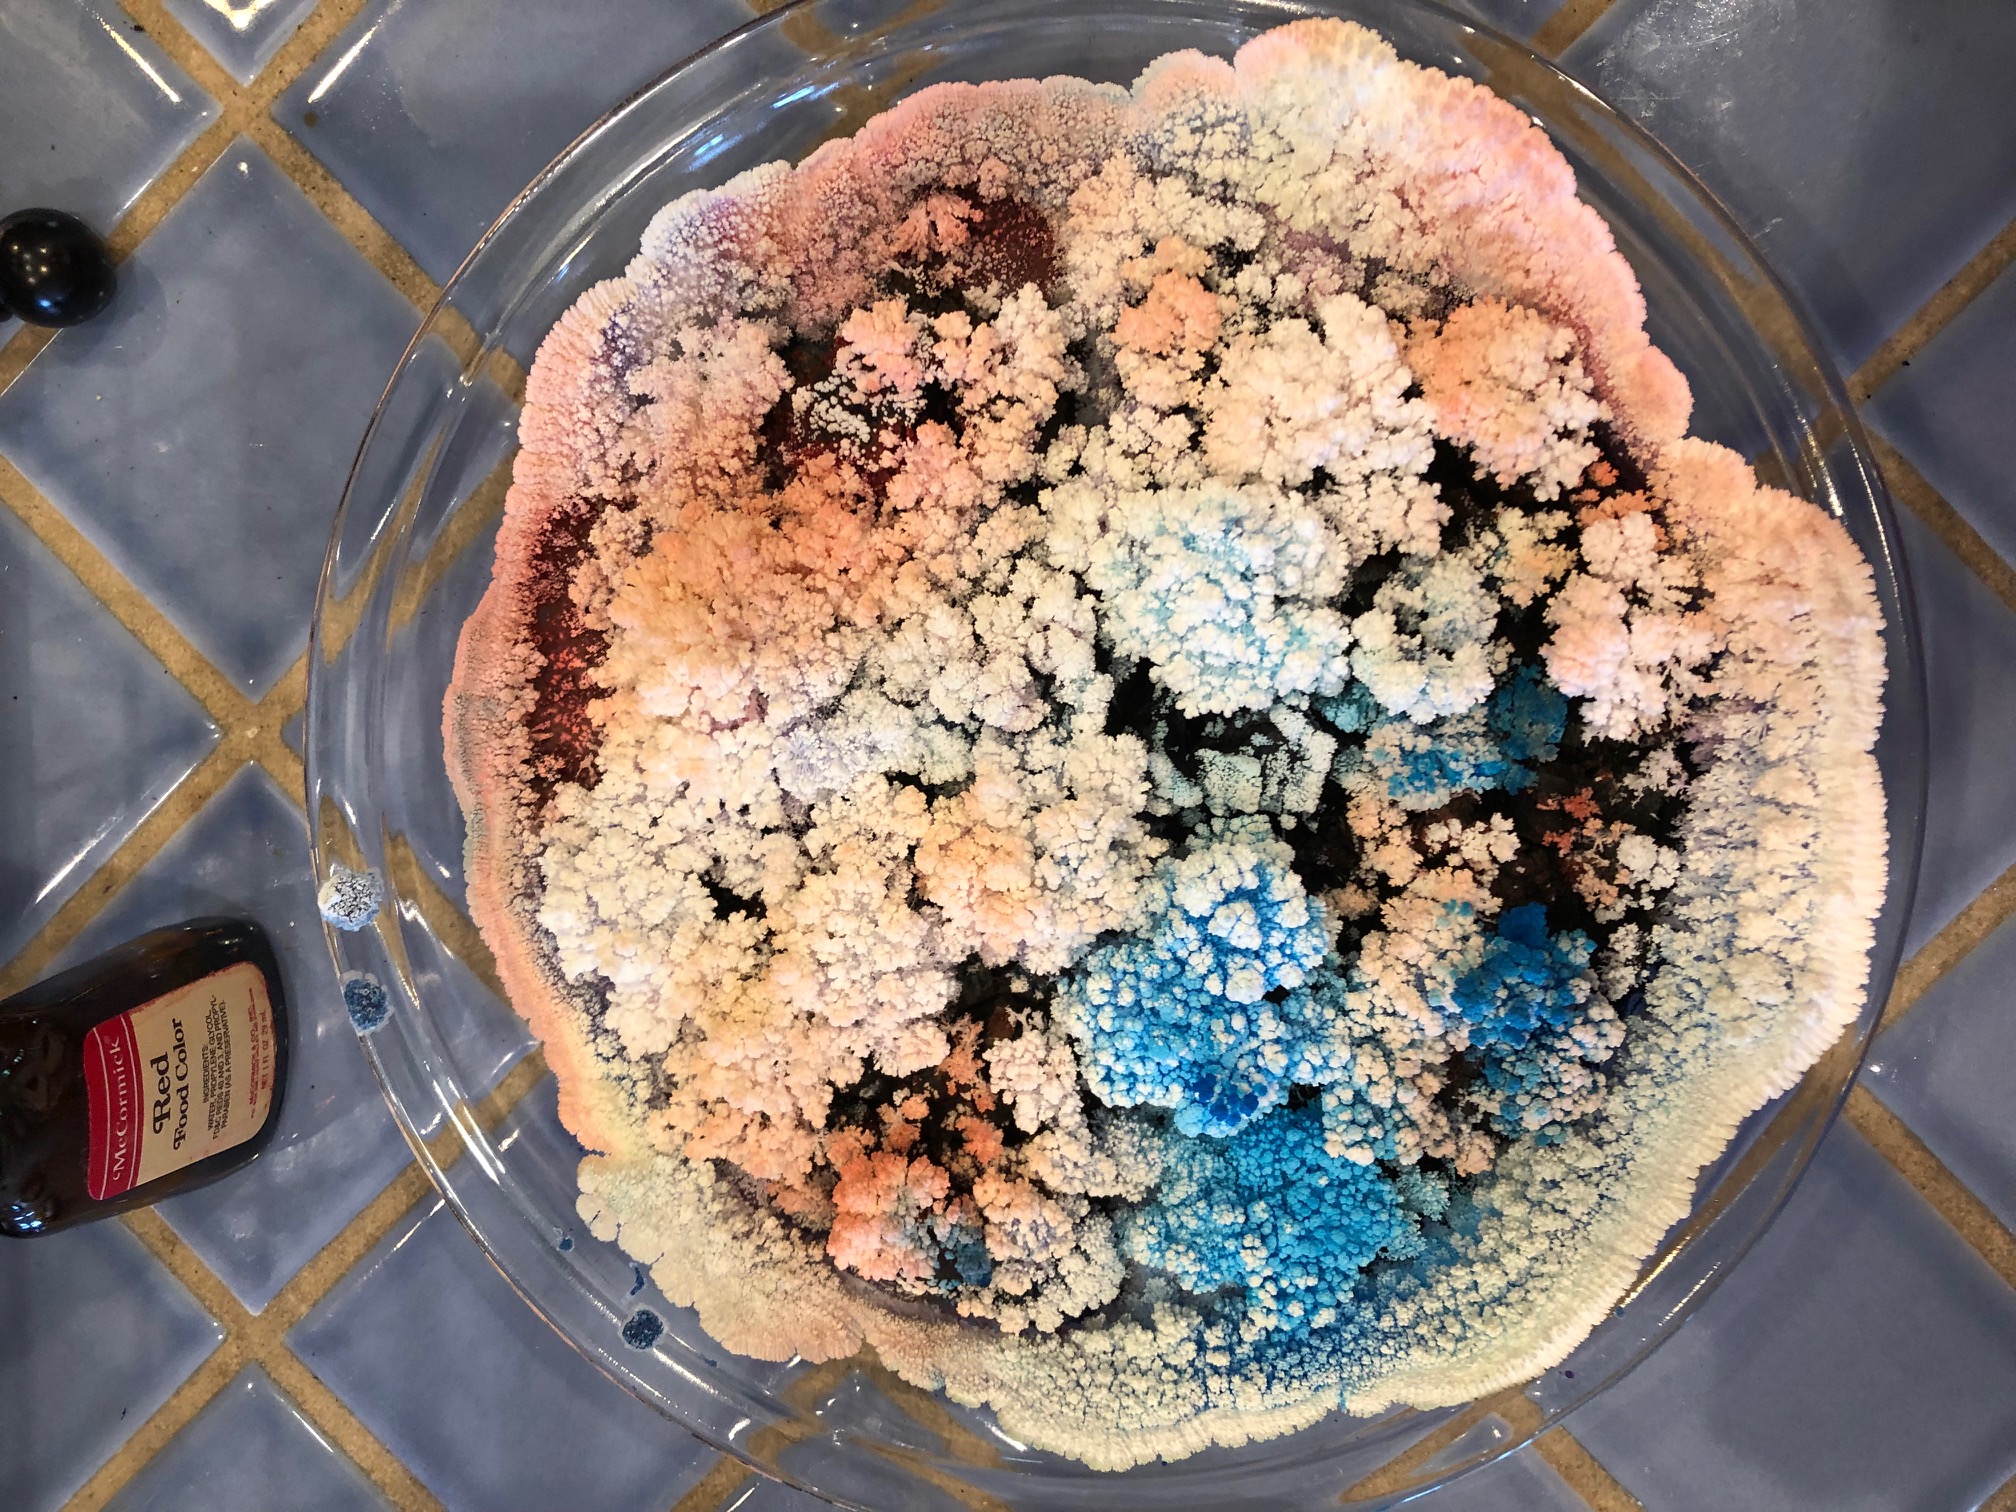
I also ended up with red food coloring on my hands and a little on my shirt, so beware. Also the bluing stains.
It was a fun little thing to do and think of my grandmother in the process.

Please visit the laboratories of other Sepia Saturday participants here.